Browser agent
Requires a GitHub Copilot subscription. The browser agent uses GitHub Copilot as its reasoning layer — you’ll need a GitHub account with Copilot access (paid plan) and a Personal Access Token to use this feature.
Your delegate can browse the web on your behalf: open pages, navigate multi-step flows, complete forms, and report back with results.
Examples of things you can ask:
- “Book me a table on OpenTable for Saturday at 7pm”
- “Check my electricity account and tell me the current balance”
- “Find the noise complaint form on the council website and fill it in”
How to turn it on
Go to Settings -> Copilot + Browser Control and set your Copilot Sign-In Token.
The browser stack is enabled automatically when a valid Copilot token is present. You can still force-disable it with BROWSER_ENABLED=false as an explicit kill switch.
Create the GitHub token (exact clicks)
- Sign in to GitHub.
- Click your profile photo (top right) -> Settings.
- In the left sidebar, open Developer settings.
- Open Personal access tokens.
- Click Fine-grained tokens -> Generate new token (recommended).
- Fill in:
- Token name: use something like
delegate1-browser-agent - Expiration: choose a date that matches your security policy
- Resource owner: your user or org that owns the repos you need
- Token name: use something like
- Under Repository access, choose:
- All repositories for broad access, or
- Only select repositories for least privilege.
- Under Permissions -> Account, add Copilot Requests (required for Copilot CLI PAT auth).
- Under Permissions -> Repository, grant what you need for your workflow. For coding tasks, Contents: Read and write is a common minimum.
- Click Generate token.
- Copy the token immediately (GitHub only shows the full value once).
- In Delegate settings, open Copilot + Browser Control, paste it into Copilot Sign-In Token, then click Save All Settings.
Important: set Resource owner to your personal account. If you use GitHub repo/issue tools as well, configure their token separately in Settings -> GitHub.
If your organization blocks fine-grained tokens, create a classic token via: Personal access tokens -> Tokens (classic) -> Generate new token (classic).
Once enabled, a browser session will be available in the background ready to take on tasks.
Using the browser agent
Open Tasks in the sidebar and create a task in plain English.
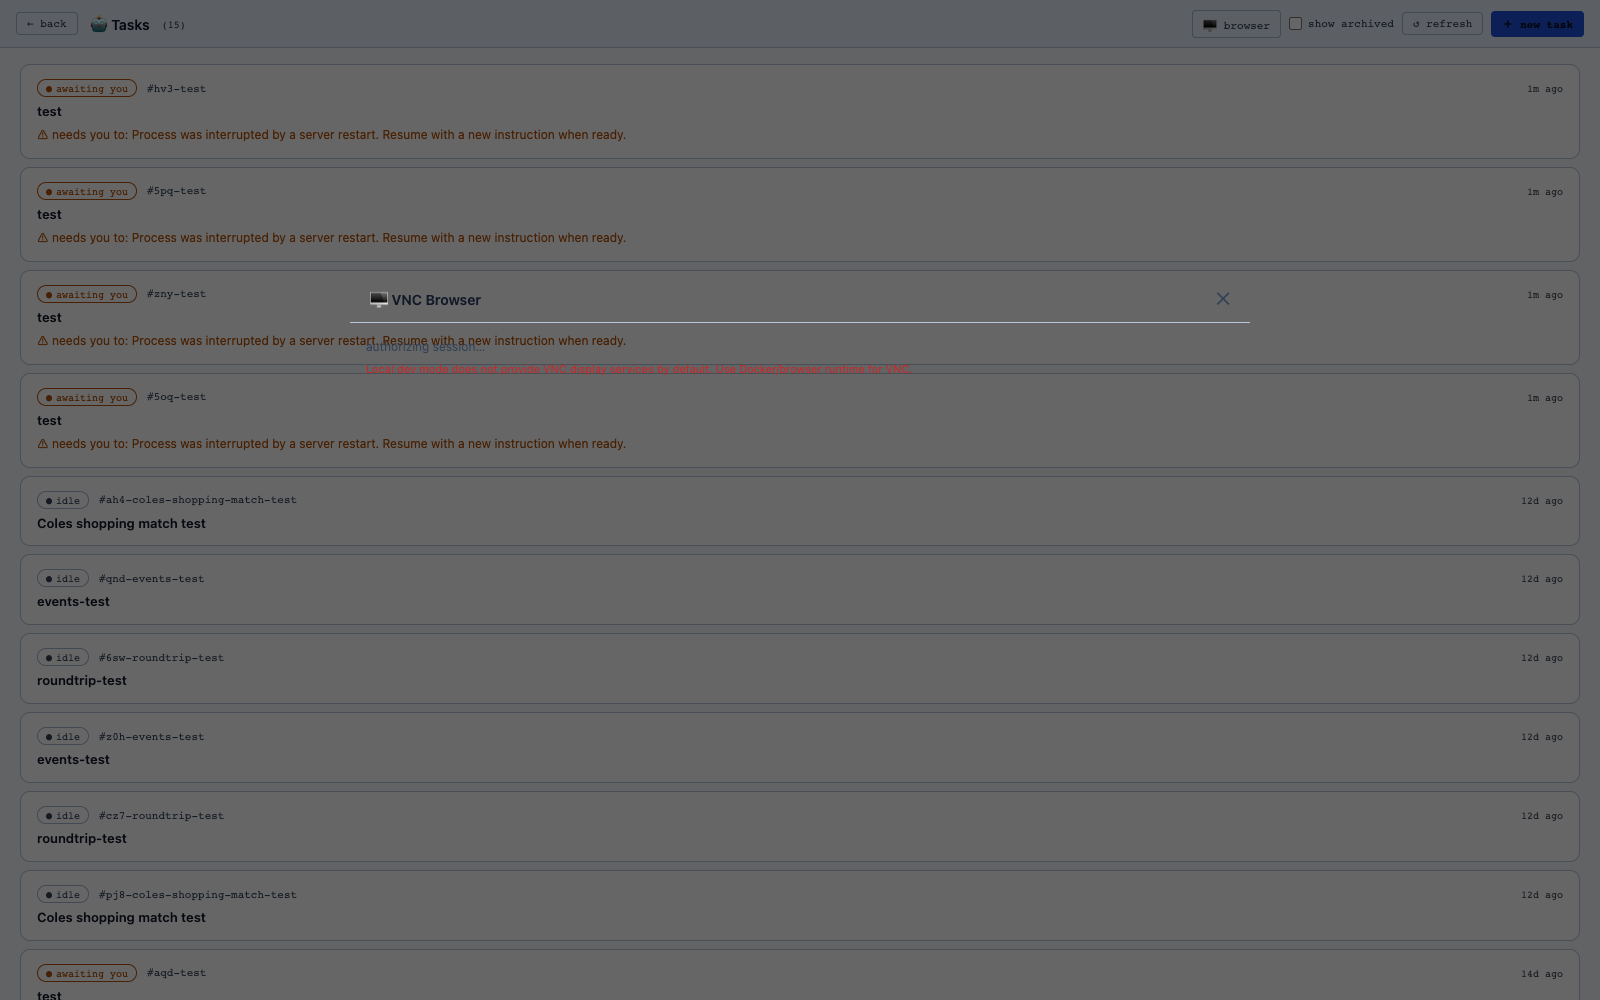
Each task is durable and resumable: you can continue it, inspect generated files, stream events, and return later.
Watching it work
The delegate opens a real browser in the background. When display services are available, you can watch live browser state through the Tasks UI live view.
If browser display services are unavailable (for example local non-Docker dev), the UI now returns a clear 503 explanation instead of a generic failure.
A note on security
The browser agent can access any website the browser can reach, including sites where you’re logged in. Only give it tasks you’d be comfortable handing to a trusted assistant. Avoid asking it to handle anything sensitive unless you’re confident in what it’s being asked to do.
Technical details
- The browser agent is powered by GitHub Copilot CLI, which acts as the reasoning layer that turns natural-language instructions into browser actions.
- The browser itself is a Chromium instance controlled by Playwright, running with a persistent profile stored under
runtime-data/browser-profile/. - Copilot CLI runs inside
runtime-data/copilot-workdir/. A dispatch layer insrc/copilot-agent/passes tasks between the model and the CLI. - The VNC credential is internal and issued via
/api/vnc/authas part of the app session flow. - For self-hosted deployments, the browser agent runs best inside the
Dockerfile.browser/docker-compose.browser.ymlDocker setup, which bundles Chromium and a VNC server. - Run browser agent tests with
npm run test:copilot.
For task lifecycle details, see Copilot Tasks.