Configuration
Delegate 1 keeps two layers of configuration:
.env— a small handful of bootstrap variables read directly from the process environment.- In-app config store (
runtime-data/config.*) — most settings (API keys, Twilio creds, email creds, feature toggles) are stored encrypted via the in-appconfigServiceand edited through the Settings UI or the install flow.
The configService reads from the in-app store first and falls back to process.env if the key isn’t set. That means you can put any of the keys below in .env for dev, or set them via the UI later.
1. Create your .env
cp .env.example .env
The starter .env.example is intentionally tiny:
# Notification endpoint for startup script (optional)
CALL_MY_PHONE_ENDPOINT=https://your-notify-endpoint.example.com/notify
CALL_MY_PHONE_SECRET=your-secret-api-key-here

# Browser agent (Copilot CLI + Playwright) — optional
# Configure this in Settings -> Copilot + Browser Control
# (including the Copilot Sign-In Token)
# Optional hard off switch if a token is present:
# BROWSER_ENABLED=false

FRONTEND_URL=http://localhost:8081
STARTUP_NOTIFY_MESSAGE="Servers started successfully"
Add at minimum your OpenAI key:
OPENAI_API_KEY=sk-...
You can also set the admin password here to skip the install flow:
ADMIN_PASSWORD=changeme
2. First-launch install flow
The first time you start the server, the Install page at /install runs through a guided setup that writes most config into the encrypted in-app store:
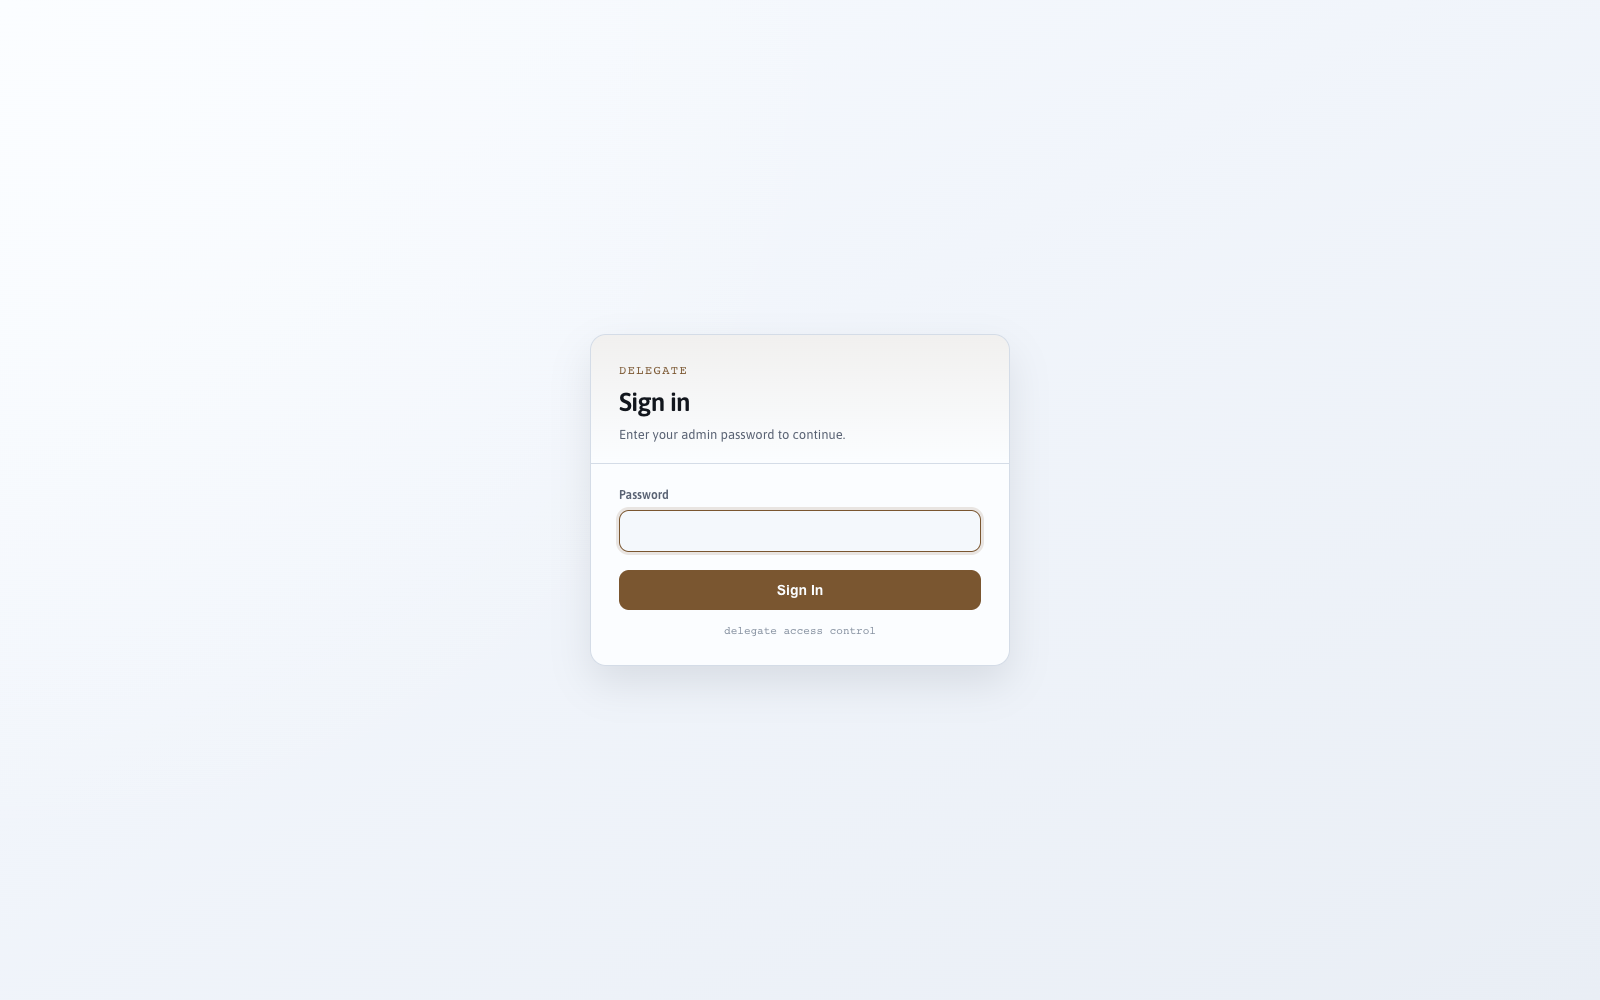
The install flow sets the admin password (used for the login page above) and lets you paste in API keys without putting them in .env.
3. Edit settings any time
Once installed and logged in, Settings (/settings.html) lets you edit every config key:
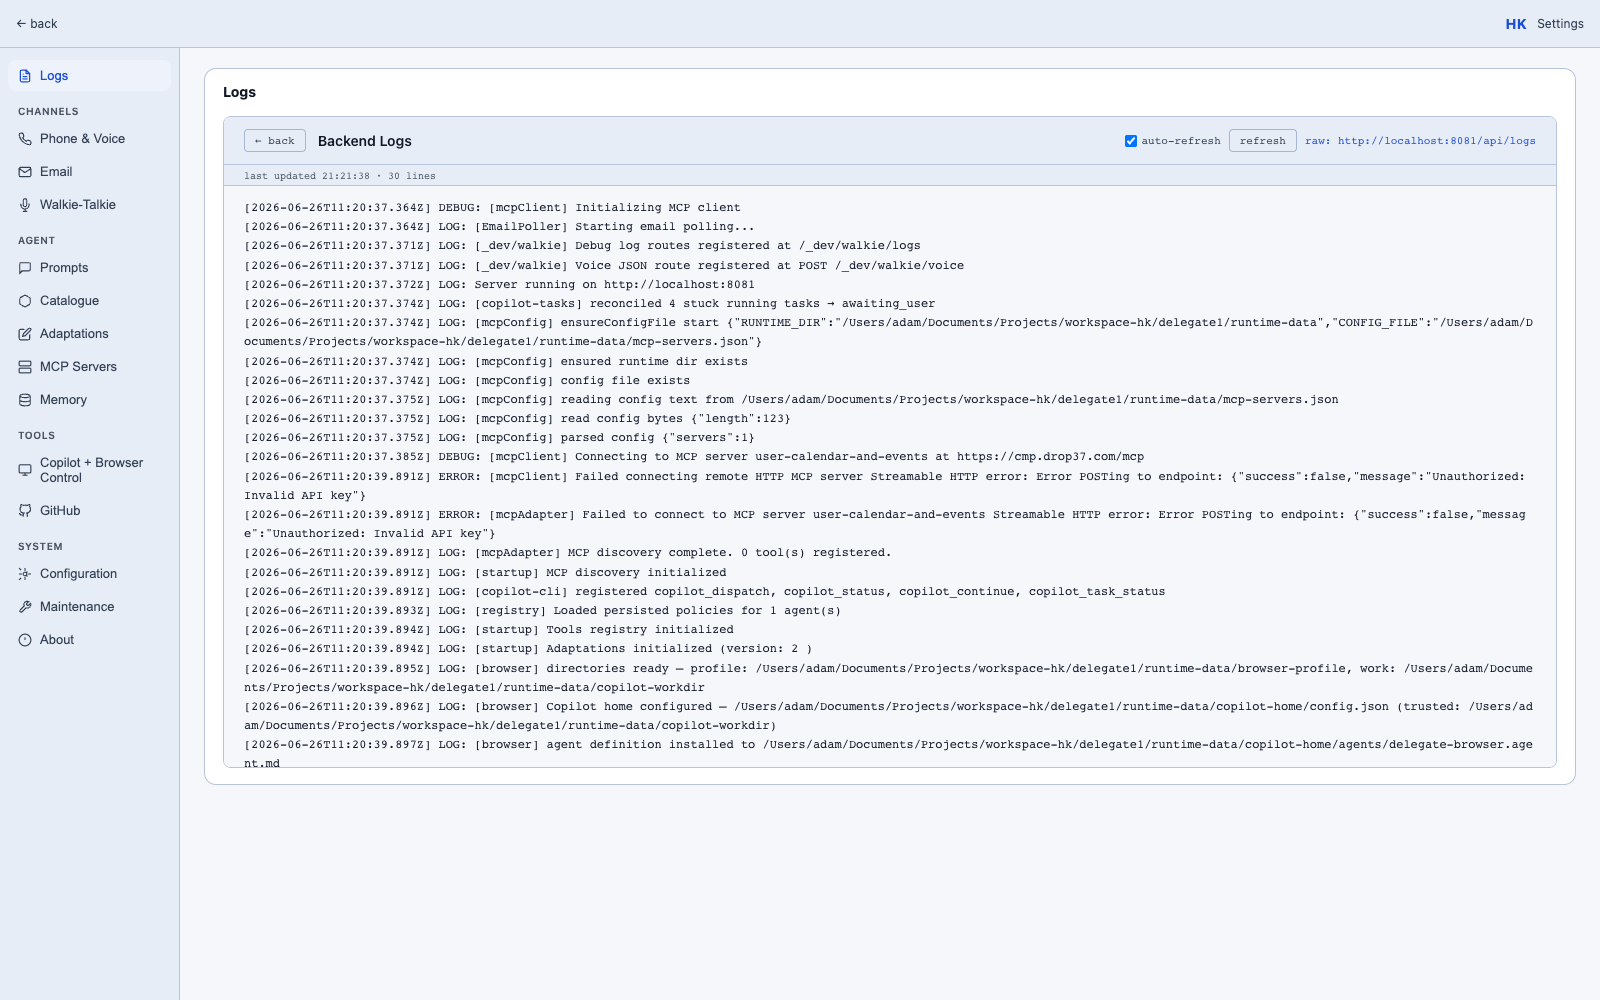
See the full table in Reference → Env Vars.
GitHub token setup (explicit steps)
Use the Settings pages for GitHub tokens:
- For browser/Copilot tasks: Settings -> Copilot + Browser Control -> Copilot Sign-In Token.
- For GitHub API tools (repo listing/issues): Settings -> GitHub -> GitHub Personal Access Token.
For Settings -> Copilot + Browser Control -> Copilot Sign-In Token, use this simple flow:
- Create a fine-grained PAT in GitHub.
- Set Resource owner to your personal account.
- Under Permissions -> Account, add Copilot Requests.
- Generate the token, copy it, paste it into the Browser field, and save.
For Settings -> GitHub, create or use a token with the repo/issue permissions you need for those tools.
How to create a GitHub PAT:
- Sign in to GitHub.
- Click profile photo (top right) -> Settings.
- Open Developer settings.
- Open Personal access tokens.
- Choose Fine-grained tokens -> Generate new token (recommended).
- Set token name, expiration, and resource owner.
- Choose repository access (all or selected repos).
- Add required permissions for your use case (for issue filing, include Issues: Read and write).
- Click Generate token and copy it immediately.
- Paste into the relevant Delegate Settings field above and click Save All Settings.
If fine-grained tokens are blocked by org policy, use Tokens (classic) -> Generate new token (classic) as a fallback.
Bootstrap vs in-app config
| Setting | Where to set | Reason |
|---|---|---|
PORT |
.env only |
Read once on startup |
RUNTIME_DATA_DIR |
.env only |
Determines where the in-app store lives |
ADMIN_PASSWORD |
.env or install flow |
Either works |
OPENAI_API_KEY, TWILIO_*, EMAIL_*, DEEPGRAM_API_KEY, PUBLIC_URL, COPILOT_*, etc. |
Settings UI or .env |
UI is preferred for prod (encrypted at rest). For GitHub tokens, use the Settings pages (Copilot + Browser Control and GitHub). |
Next: First run.